Factory Fish Tanks

How to Install Acrylic Pool Panels: Engineering, Preparation and Installation Guide

Acrylic pool windows require careful engineering, planning, and precise installation to create a secure, watertight connection between the acrylic panel and the surrounding concrete structure.

The installation process begins well before production. Structural engineering, pressure analysis, concrete preparation, waterproofing, panel handling, and final sealing must all be coordinated to ensure the completed installation performs as intended.

At Factory Fish Tanks, acrylic pool installations are coordinated around panel dimensions, water depth, structural support requirements, and approved engineering drawings.
STEP 1 — Structural Engineering and Pressure Analysis

Before acrylic production begins, the panel must be engineered for its intended installation and operating conditions.

A state-licensed Professional Engineer (PE), qualified for the project jurisdiction and relevant structural design scope, should review the proposed installation and perform the required structural and hydrostatic pressure analysis.

The analysis should account for:

  • Maximum water depth and resulting hydrostatic pressure.
  • Acrylic panel dimensions and thickness.
  • Panel support conditions and edge restraint.
  • Expected acrylic deflection under water pressure.
  • Concrete structure and surrounding reinforcement.
  • Structural connections and load transfer.
  • Applicable engineering requirements and safety factors.

The engineer should establish the required panel specifications and approve the structural design before the acrylic enters production.

This stage is critical because acrylic thickness, panel dimensions, and installation details must be determined by the actual structural requirements of the project.

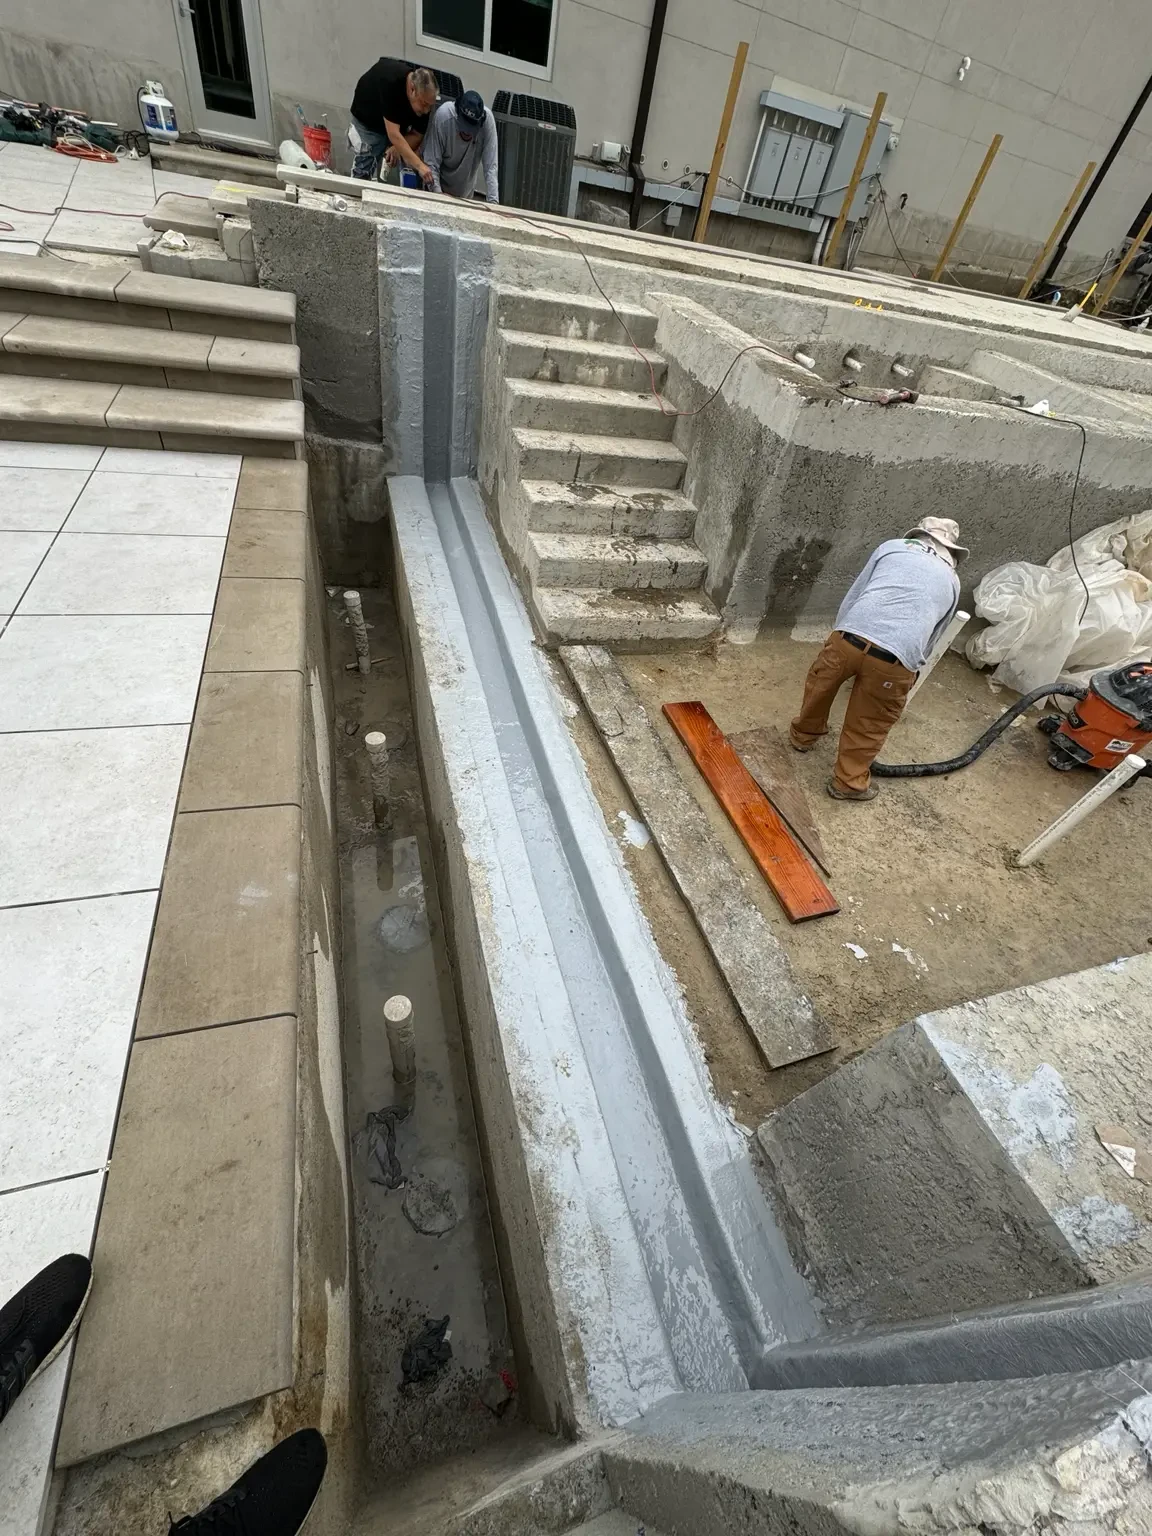
STEP 2 — Prepare the Concrete Opening and U-Channel

Begin by inspecting the reinforced concrete structure and confirming that the opening matches the approved installation drawings.

The concrete U-channel must have the required width, depth, and clearance for the acrylic panel and its support system.

Remove loose concrete, debris, and surface irregularities, and complete any required concrete repairs. Check that the channel is clean, level, and free from defects that could interfere with the installation.

The bottom and side surfaces must provide consistent support and sufficient clearance for positioning and sealing the panel.

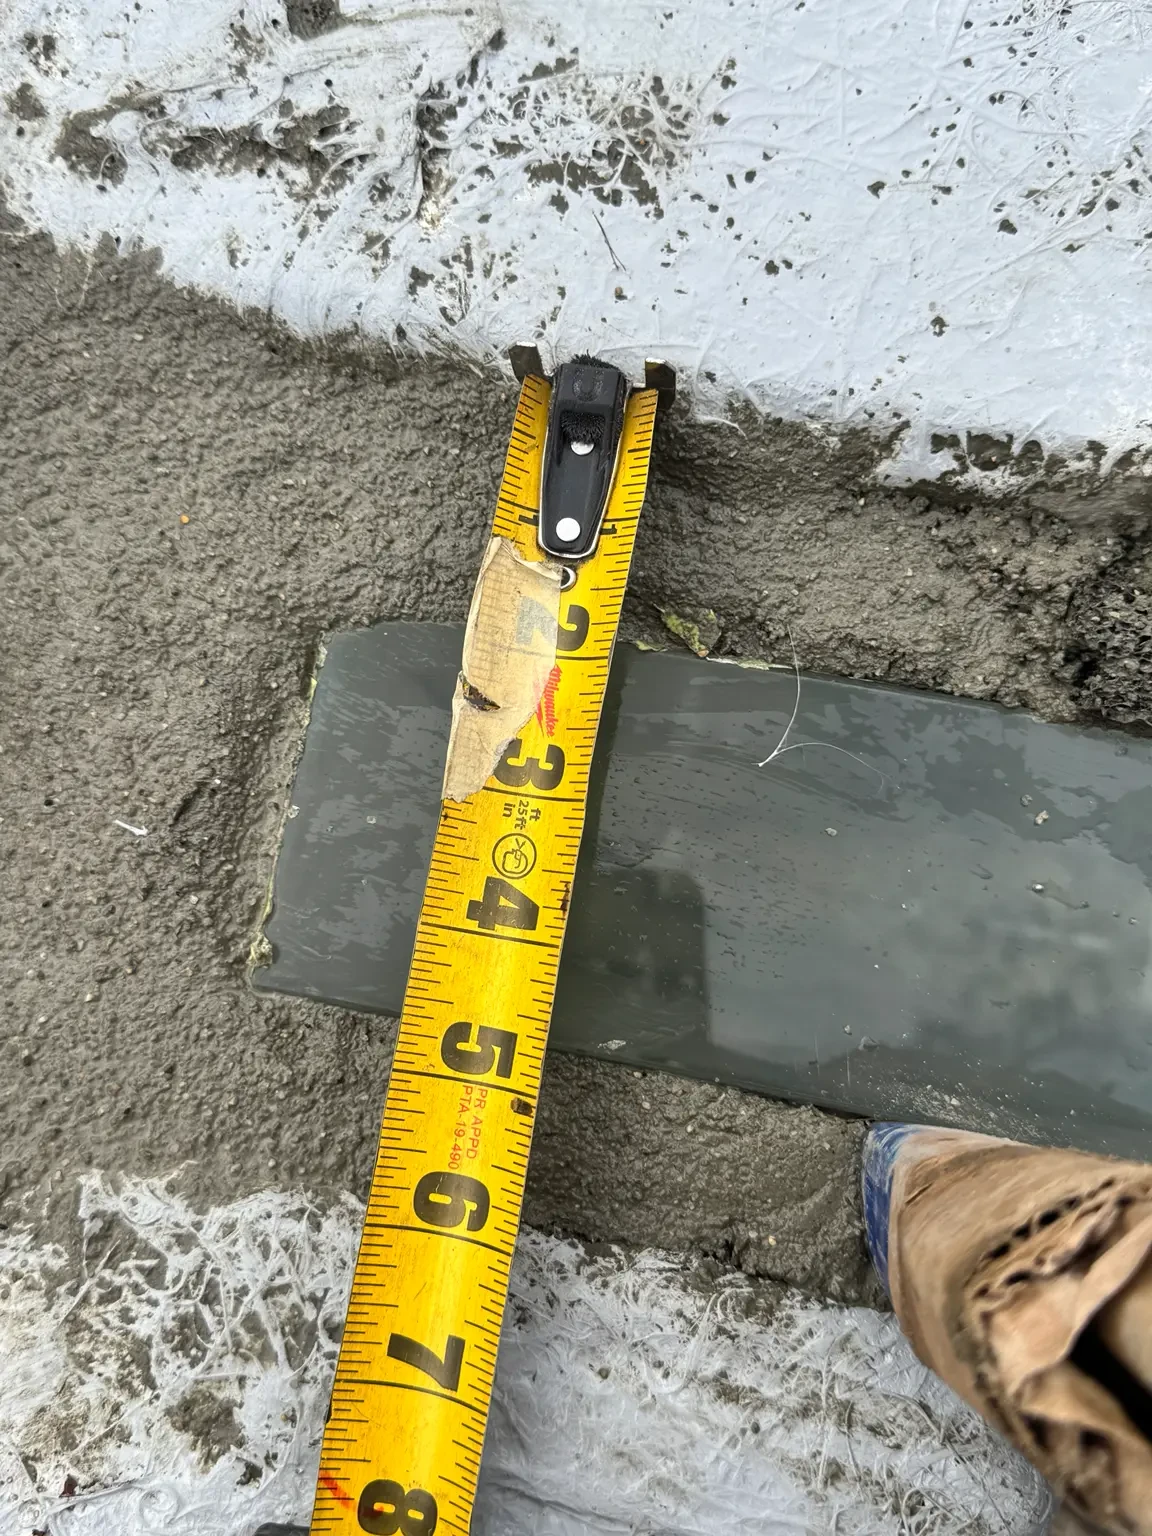
Check the channel dimensions at multiple points before proceeding. Small variations can affect panel alignment and the final seal.

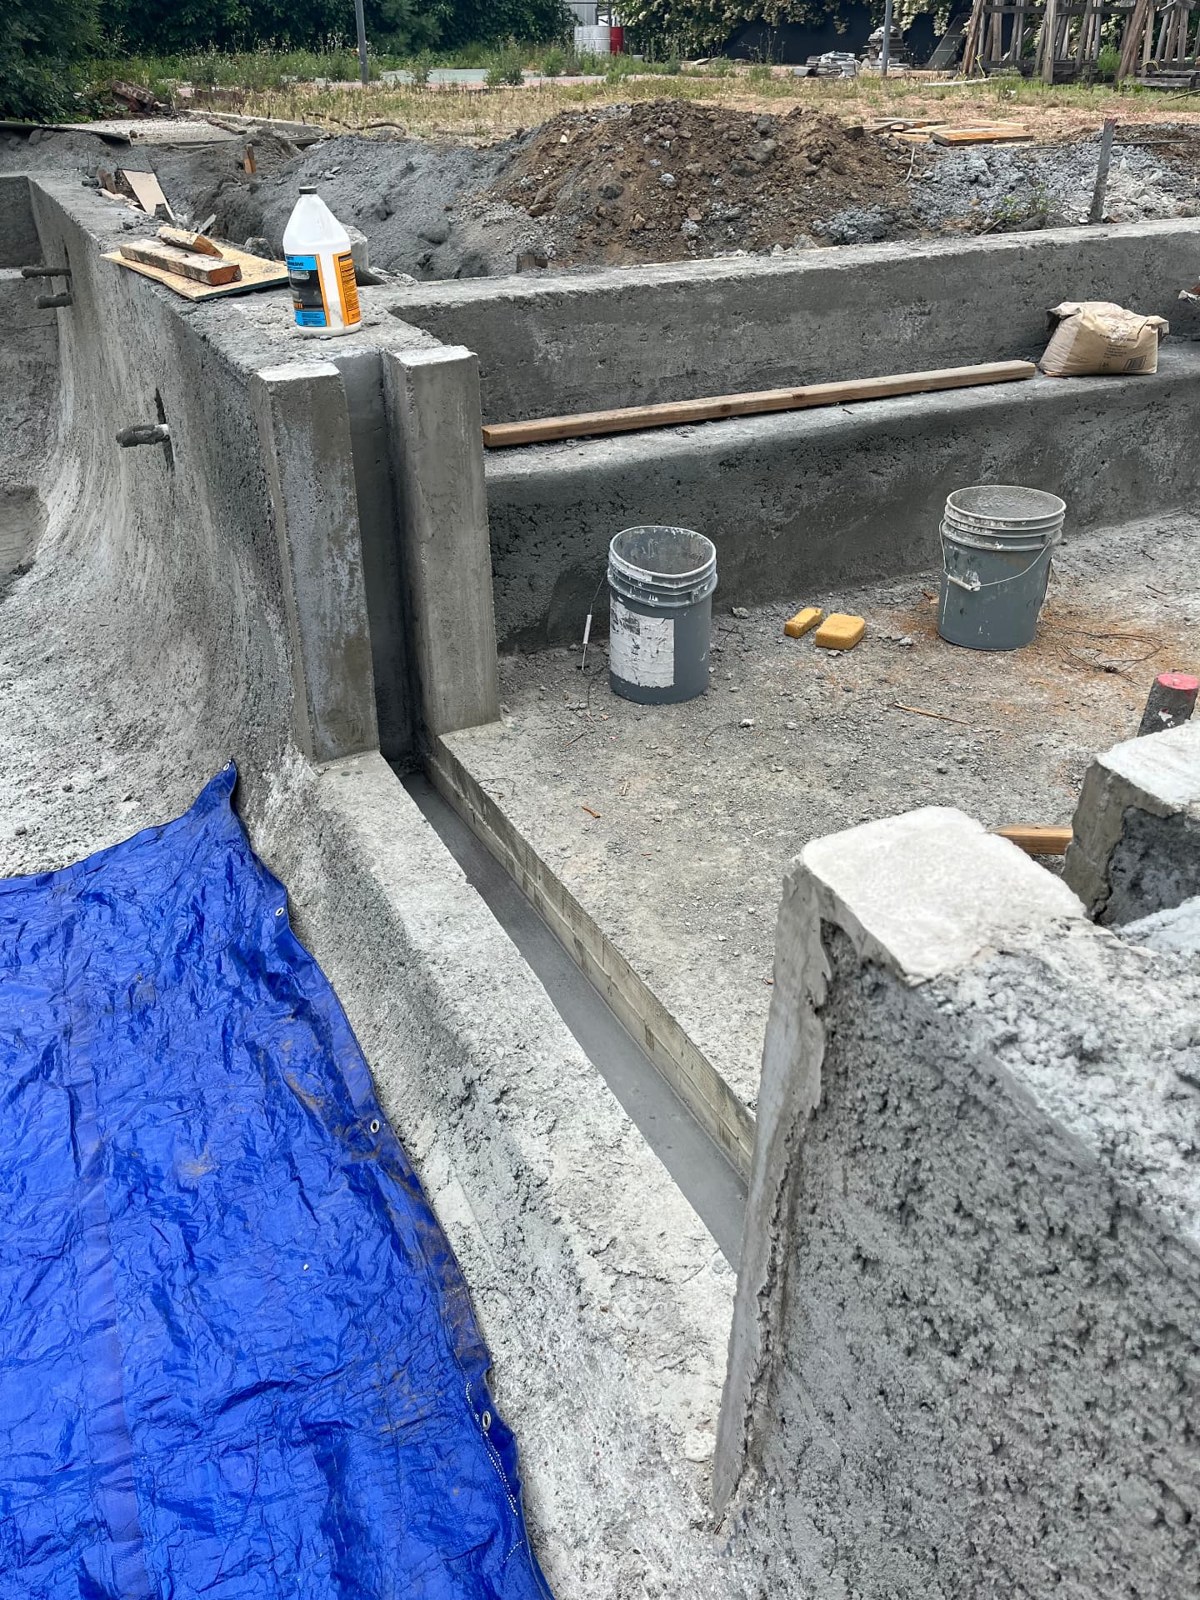
Reinforced concrete pool structure prepared for acrylic window installation.

STEP 3 — Apply Epoxy Waterproofing

Once the concrete channel is fully dry and properly prepared, apply an epoxy waterproofing system across the channel surfaces.

This creates a continuous waterproof barrier between the concrete structure and the panel installation assembly.

Ensure that corners, transitions, and changes in surface direction receive complete coverage.

Allow the epoxy to cure according to the manufacturer’s instructions before introducing the acrylic panel.

Prepared concrete U-channel for structural acrylic pool glazing.

STEP 4 — Move, Position, and Support the Panel

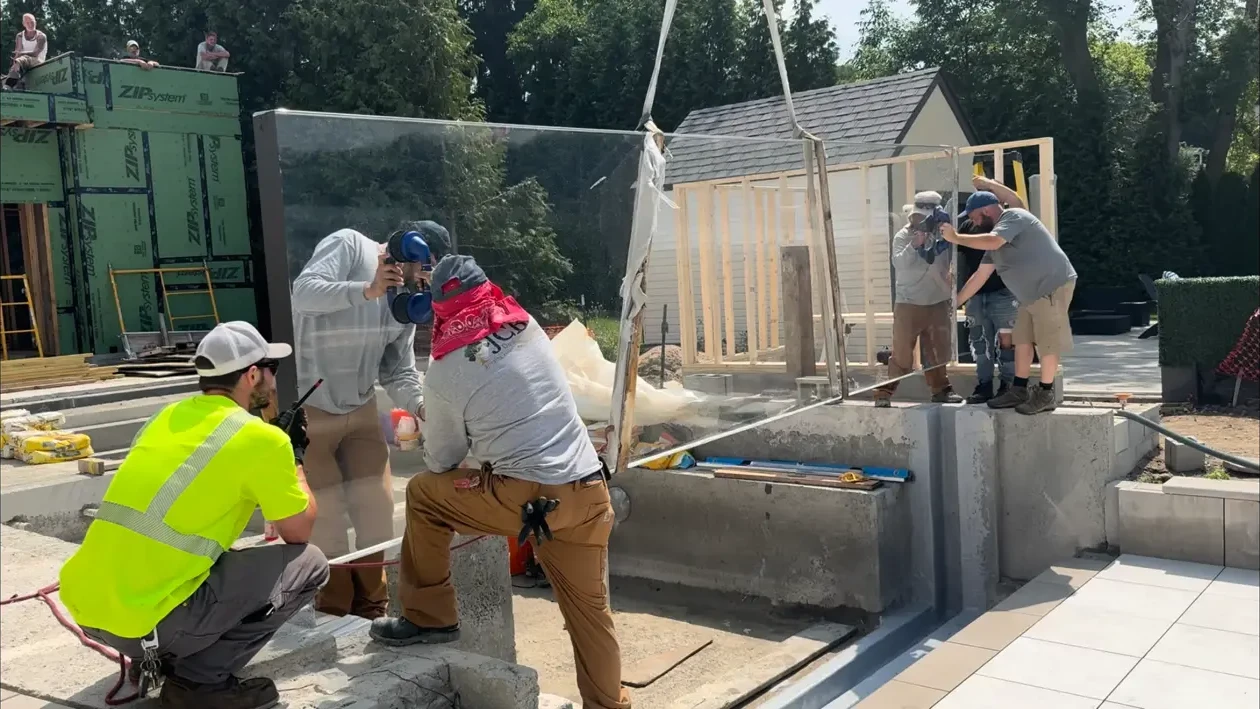
Acrylic panels can be extremely heavy and require careful handling during transport and installation.

Plan the lifting route, access points, and positioning equipment before moving the panel.

Use appropriately rated lifting equipment and suitable handling points. Protect the acrylic surfaces and edges from impact, scratches, and concentrated loads.

Lower the panel slowly into the prepared channel, maintaining control throughout the movement.

Check the panel's vertical alignment, horizontal position, and clearance along the bottom and sides.

Install the specified support pads and introduce leveling grout beneath the panel as required by the approved installation design.

The panel must remain properly supported and aligned while the supporting material cures.

Lifting and positioning a large acrylic pool window using controlled lifting equipment.

STEP 5 — Complete the Structural Grouting

Once the panel is correctly positioned and supported, fill the remaining designated gaps with concrete grout as specified in the installation drawings.

Work carefully to avoid shifting the panel or introducing unwanted pressure against its edges.

Allow the grout to cure fully before proceeding with the final sealing work.

Measuring acrylic pool panel installation clearance and channel support dimensions.

STEP 6 — Apply the Final Silicone Seal

Complete the installation by applying silicone along the designated acrylic-to-concrete joints.

Maintain a continuous seal and carefully work the silicone into the joint to minimize trapped air and voids.

Inspect the entire perimeter for inconsistent coverage, gaps, or visible air pockets.

Allow the silicone to cure fully before filling the pool.

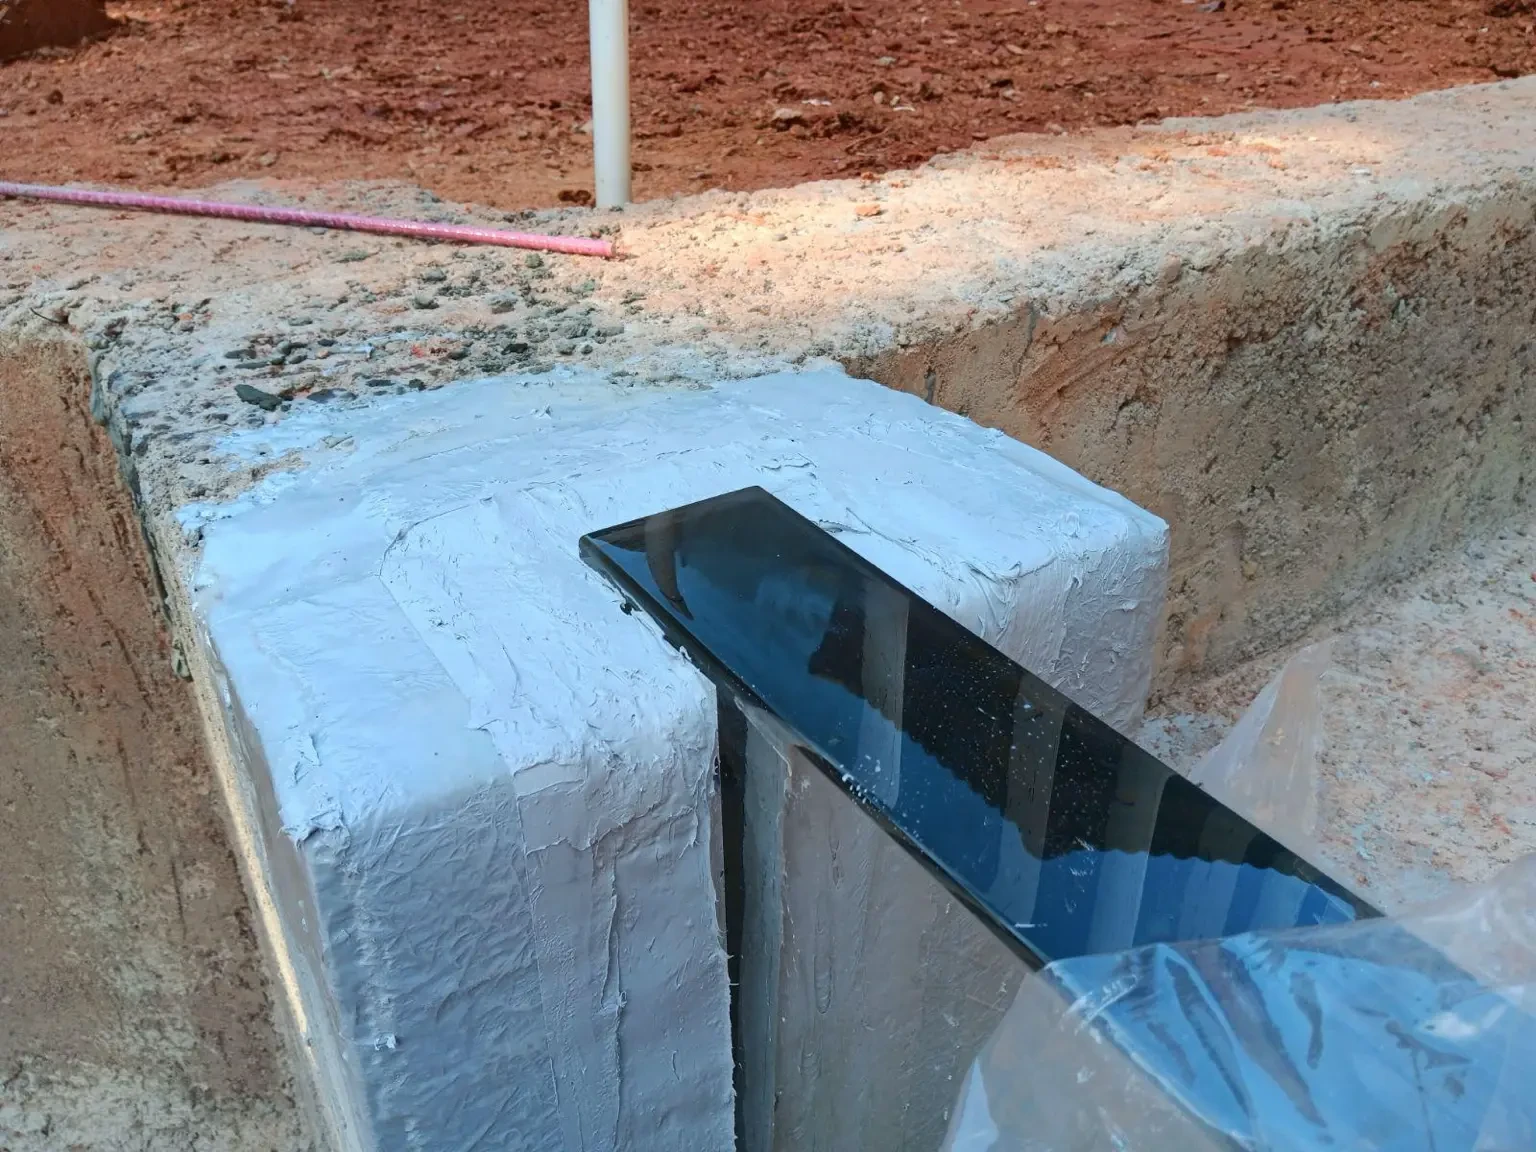
Close-up of an acrylic pool panel positioned within its concrete installation channel.

Installation Timeline and Final Inspection

A typical acrylic pool panel installation takes approximately 5–10 days, depending on project complexity, installation conditions, weather, and curing requirements.

Engineering and production are completed ahead of the on-site installation period. The on-site schedule must account for concrete preparation, waterproofing, panel placement, structural support, grouting, and final silicone curing.

The pool should only be filled after the structural support, grout, waterproofing, and silicone have reached their required cure stages.

Before commissioning, inspect the completed installation and verify that the panel remains properly aligned and that all perimeter seals are continuous.

Professional engineering coordination, accurate channel preparation, and controlled panel handling are essential to achieving a reliable acrylic pool installation.

Project inquiry

Discuss Your Project